Android Studio Setup
If you are a beginner looking to get started with Android development, this article will provide you with a step-by-step guide on how to setup Android Studio.
Android Studio is the official Integrated Development Environment (IDE) for developing Android applications. It is a powerful tool that provides you with all the necessary resources for creating, testing, and deploying Android applications.
If you are interested in becoming an Android developer, the first step is to set up your development environment. This involves installing the necessary software, tools, and libraries on your computer to begin creating Android applications.
In order to develop Android applications, you can use the following operating systems:
| Operating Systems | Overview |
| Microsoft Windows | Android Studio can be setup on Windows XP or later versions. The necessary software tools and SDK can be installed on Windows-based machines, making it a popular choice for developers. |
| Mac OS X | Android Studio is also supported on Mac OS X 10.5.8 or later versions with an Intel chip. Mac users can install the required software tools and SDK to start developing Android applications. |
| Linux | Android Studio is supported on various Linux distributions, including Ubuntu, Fedora, and Debian. you can install the required software tools and SDK on their Linux machines to start developing Android applications. |
The steps for android Studio setup and development environment are mentioned below:
Step 1: Install Java Development Kit (JDK)
In order to set up your development environment, you must install the Java Development Kit (JDK).
Android applications are built using Java programming language, so you need the JDK installed on your computer.
The JDK can be downloaded from the Oracle website. Download the version that is compatible with your operating system.
Step 2: Download and Install Android Studio Setup
The Android Studio IDE is the official Integrated Development Environment (IDE) for developing Android applications.
It includes a code editor, a visual layout editor, and many other tools essential for Android development.
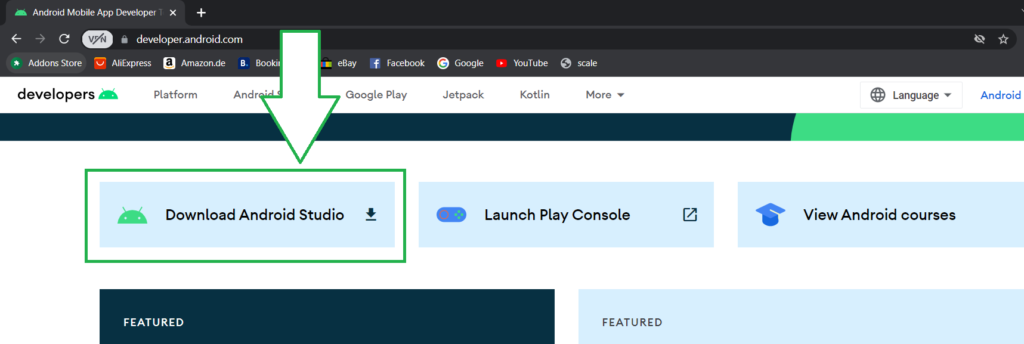
Android Studio Setup can be downloaded from the official Android website.
After downloading Android Studio, run the installer and follow the setup wizard instructions.
Once you have downloaded and installed Android Studio, the next step is to install the Android SDK (Software Development Kit).
Step 3: Install the Android SDK
For Android development, the Android Software Development Kit (SDK) is required.
The Android SDK is included in Android Studio setup, but you can also download it separately if you wish.
To download the Android SDK, open Android Studio and click on the SDK Manager icon in the toolbar.
From here, you can download and install different Android SDK versions, as well as additional tools and platforms.
Step 4: Set Up Your Development Device
After installing the Android SDK, you will need to configure some Android Studio setup’s. These settings will determine how the IDE behaves and how it interacts with the Android SDK.
A development device is required for testing Android applications.
A physical Android device or an Android emulator can be used.
In order to set up a physical Android device, you must enable USB debugging. Additionally, you will need a USB cable to connect it to your computer.
Open Android Studio and click on the AVD Manager icon in the toolbar to set up an Android emulator.
Step 5: Create Your First Project
Your first Android project can be created once you have set up your Android studio and development environment. You can start an Android Studio project by clicking “Start an Android Studio project” on the welcome screen, or by navigating to File > New > New Project.
You will need to specify the project name, the package name, the project location, and other details about the project. You can also select the type of project you want to create, such as a blank activity, a login activity, or a navigation drawer activity.
Once you have created your project, you can start writing code and building your Android application.
Explore the Android Studio Interface
After creating a new project, you will be taken to the Android Studio interface. This is where you will spend most of your time developing your Android application.
The Android Studio interface is divided into several sections, including the Project window, the Editor window, the Build window, and the Logcat window. Each section serves a different purpose and provides you with access to different tools and resources.
Build and Run your App
Once you have created your project and explored the Android Studio interface, you can start building your app. Android Studio provides you with a wide range of tools and resources for building and testing your app, including the Layout Editor, the Code Editor, and the Emulator.
To build and run your app, click on the Run button (the green triangle) in the toolbar. This will compile your app, launch the emulator, and install your app on the emulator. You can then test your app and make any necessary changes.
Conclusion
Android Studio setup is an essential step for anyone looking to get started with Android development. By following the steps outlined in this article, you can install and configure Android Studio on your computer, create a new project, explore the Android Studio interface, and build and run your app. With its powerful tools and resources, Android Studio makes it easy to develop high-quality Android applications.
