How To Install MySQL On Windows?
We’ll learn how to download and install MySQL on Windows in this post.
There are many types of relational databases that exist in today’s world, including MySQL, one of the most popular ones.
With its support for multi-user access, the storage engine provides a wide range of options.
Requirements
To install MySQL – It requires the following requirements to be installed on your system:
- Setup file to install MySQL.
- The Microsoft .NET Framework version 4.5 is required to install MySQL.
- Visual Studio Redistributable Package for Microsoft Visual C++ are also required to install MySQL.
Install MySQL:
- For MySQL installation instructions for linux, please click here.
- If you are using a Mac, please visit our article on How To Install MySQL On Mac OS.
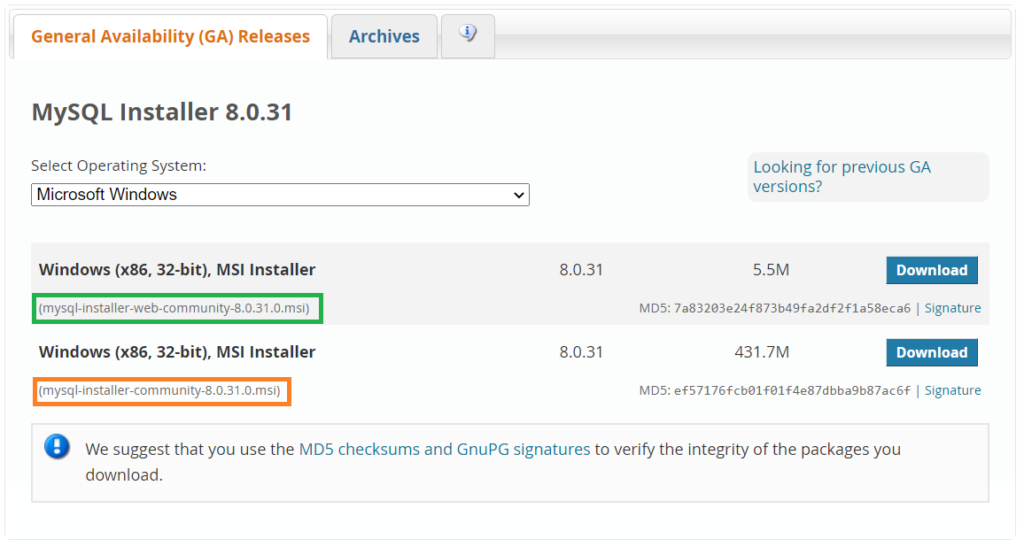
Step 1: The first step is to download the community server edition software from the official MySQL website.
Step 2: The setup can be downloaded in two ways. You can choose the MySQL community server version number you want. Mysql-installer-web-community is a suitable choice if you have high-speed internet connectivity. Otherwise, choose mysql-installer-community.msi. Please refer to the image below:
Step 3: Simply double-click the MSI installer file once you have downloaded the setup file. You will see the following screens:

Step 4: Next, select the Setup Type. Installing MySQL product and features requires choosing the appropriate option from a variety of available options. We will select the Full option and click Next.
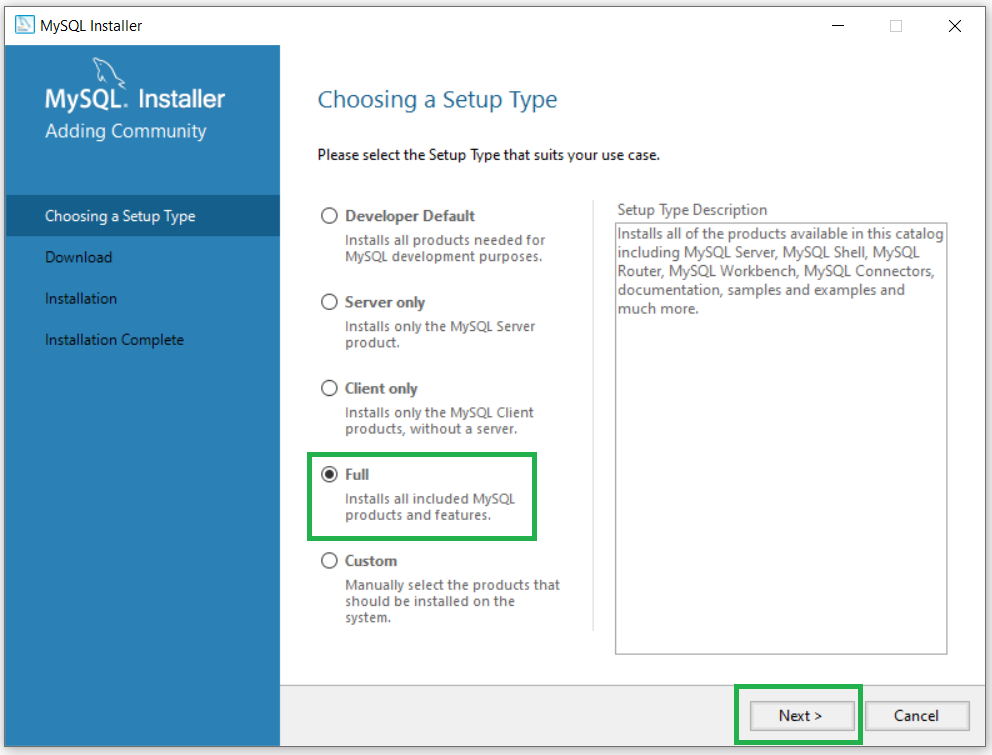
The following will be installed: MySQL Server, MySQL Shell, MySQL Router, MySQL Workbench, MySQL Connectors, documentation, samples and examples, and much more.
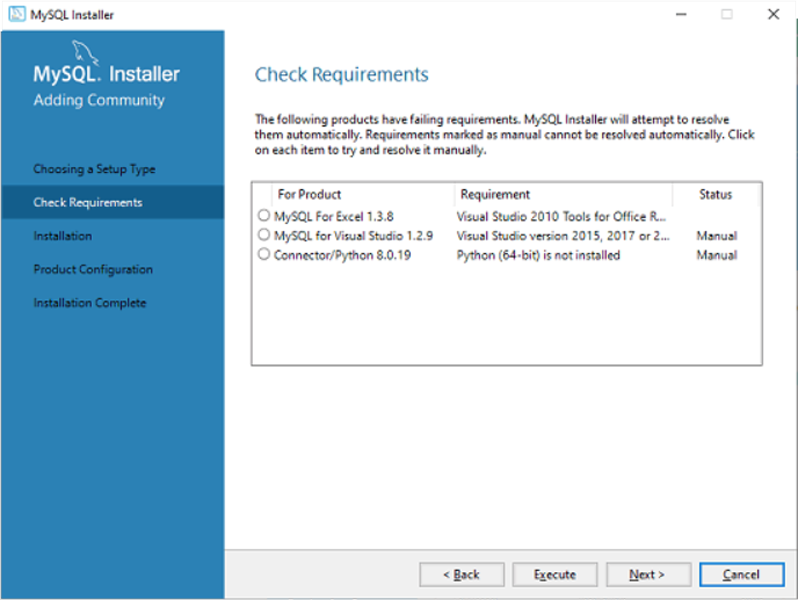
Step 5: It may inform us that some features cannot be installed on your system because of missing requirements once we click on the Next button. Clicking on the Execute button will automatically install all requirements or we can skip them. Click on Next.
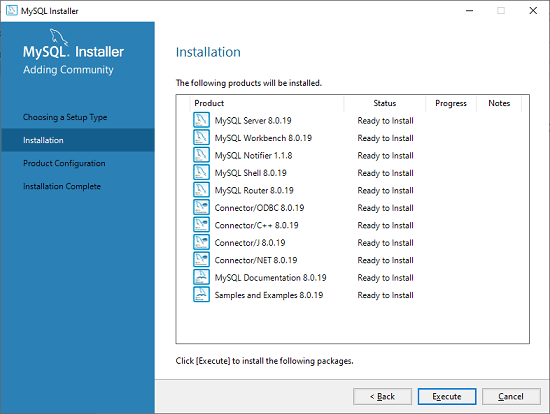
Step 6: A dialog box will appear in the next wizard asking for our confirmation to install a few products. The Yes button must be clicked here.
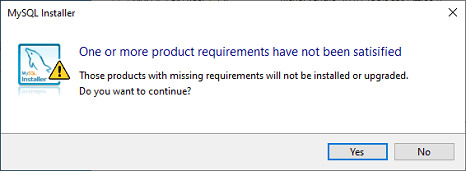
The list of products that will be installed will appear after clicking the Yes button. Click the Execute button if all products are needed.
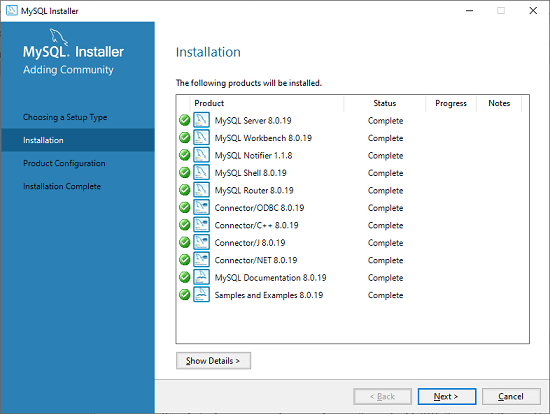
Step 7: By clicking on the Execute button, all the products will be downloaded and installed. Click Next once the installation is complete.
Step 8: Next, we must configure the MySQL Server and Router. Due to the fact that MySQL does not require the Router – Firstly, we will configure the server, then we will configure the router. Click the Next button.

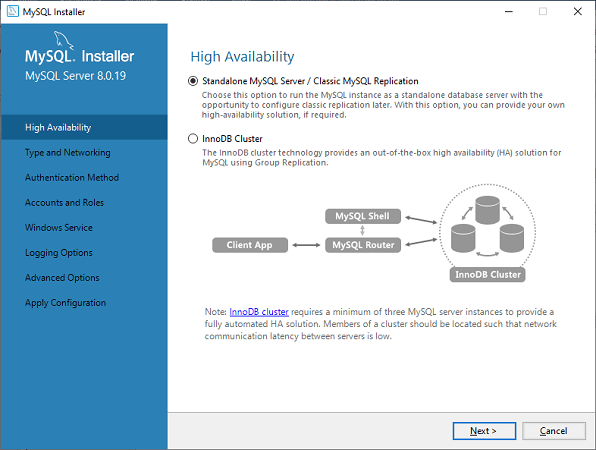
Step 9: You will see the screen below as soon as you click on the Next button. In this step, we will configure the MySQL server. Select Standalone MySQL Server/Classic MySQL Replication from the list and click on Next. Depending on your needs, you can also select the InnoDB Cluster.
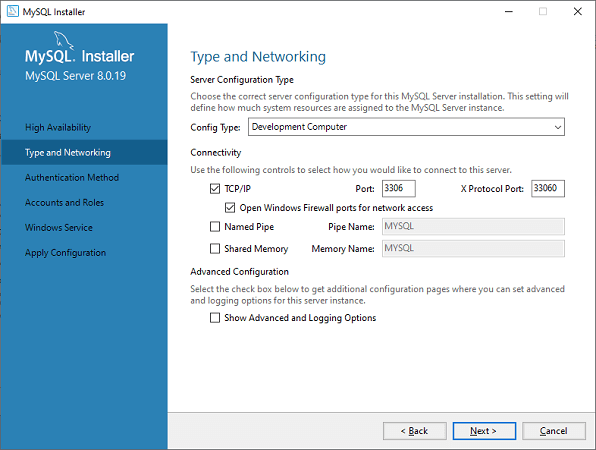
Step 10: The next screen will ask you to choose the configuration type and other connectivity options. The Config Type is ‘Development Machine’, and the Connectivity is TCP/IP, and the Port Number is 3306, then click Next.
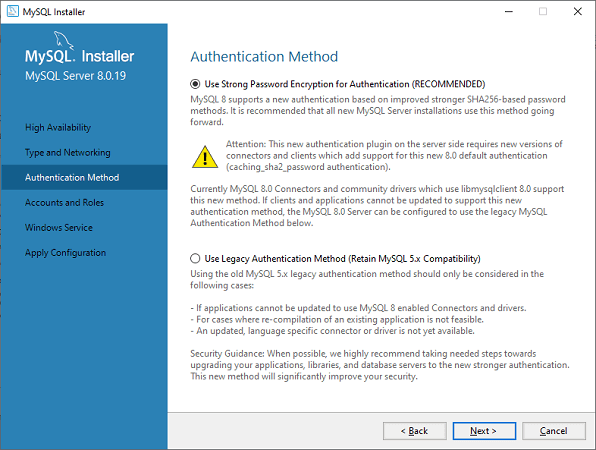
Step 11: Click on Next after selecting the Authentication Method. In the image below, we have selected the first option.
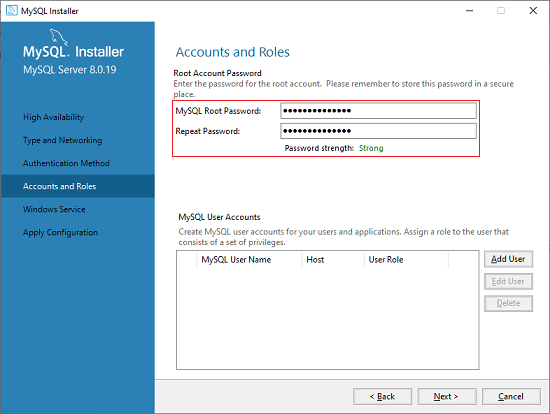
Step 12: You will be asked to enter the MySQL Root Password – Click the Next button after filling out your password details.
Step 13: To start the server, you must configure the Windows Service. Click Next and keep the default settings.
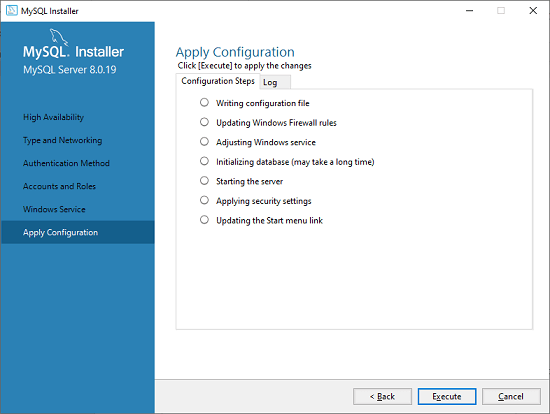
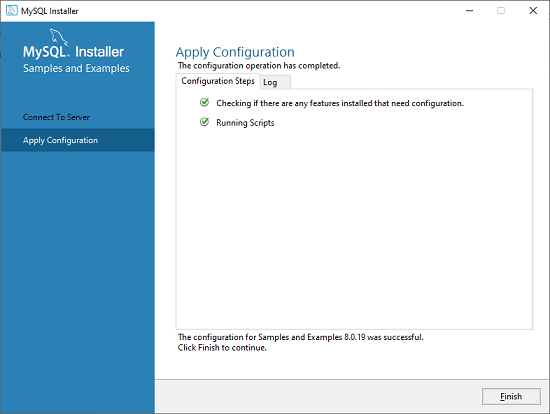
Step 14: Next, you will be asked to apply the Server Configuration. You can execute this configuration.
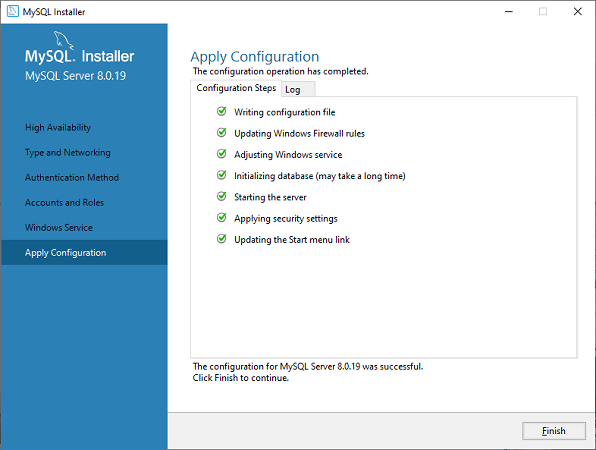
Step 15: Upon completion of the configuration, you will see the screen below. To continue, click Finish.
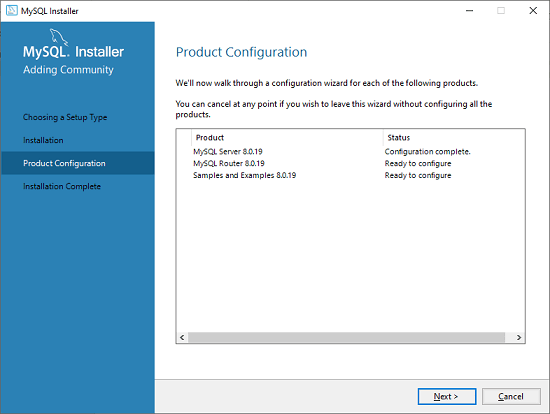
Step 16: A completed Product Configuration screen appears next. To complete the MySQL package installation, keep the default settings and click Next then Finish.
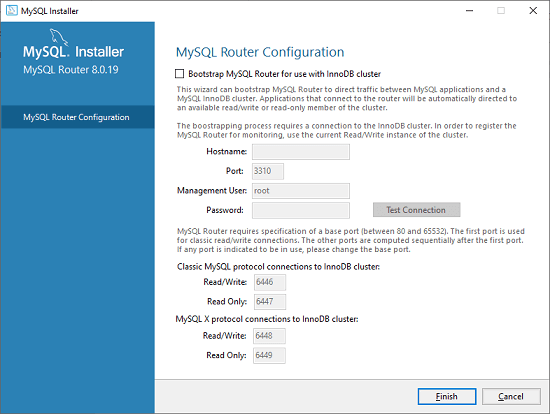
Step 17: The next wizard allows us to configure the router. Click Next and Finish and then Next.
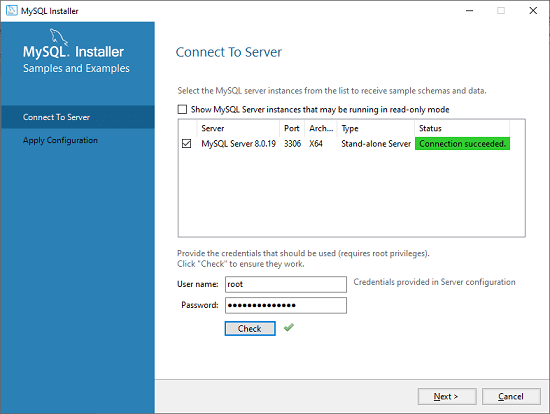
Step 18: Next, we’ll see the option to connect to the server. The root password that we set earlier must be mentioned here. By clicking on the Check button, you can also determine whether or not the connection was successful. If the connection is successful – Click Next once the configuration is complete.
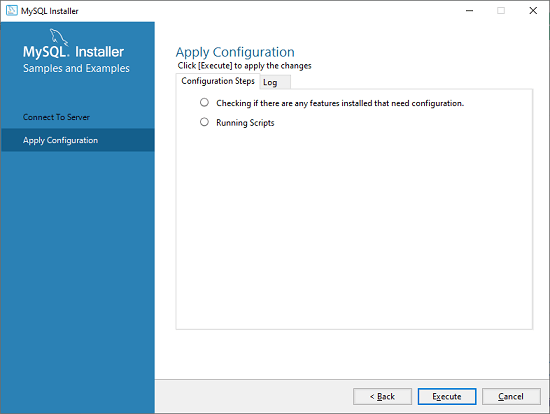
Step 19: Next, select the applied configurations and click Execute.
Step 20: The following screen will appear once we have completed the above step. Click the Finish button here.
Step 21: The MySQL installation on your windows system is now complete. Just click Finish.
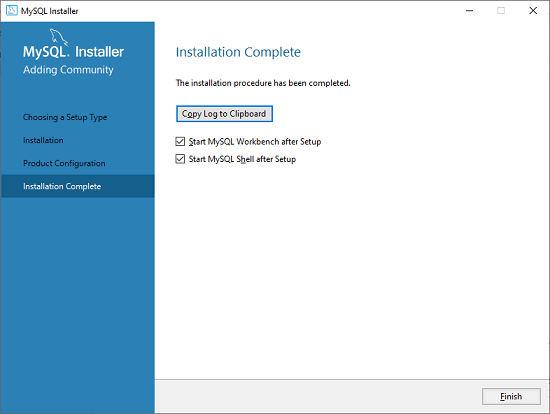
Now you know how to install MySQL on Windows – You are done with MySQL installation on Windows. To test your MySQL with python visit our python mysql article.
