Kivy Application: A Beginner’s Guide
Congratulations on your decision to explore the world of Kivy application development! Whether you’re a Python enthusiast or an aspiring app developer, Kivy offers an excellent platform for building cross-platform applications with ease. In this article, we will guide you through the process of getting started with Kivy, from installation to creating your first Kivy application. So, let’s dive in and unlock the potential of Kivy together!
Kivy Installation and Setup
To begin your Kivy journey, you need to install the framework and set up your development environment. Start by ensuring that you have Python installed on your system. Then, using pip, the Python package installer, you can install Kivy by running a simple command. Detailed installation instructions can be found below.
Install Kivy On Windows
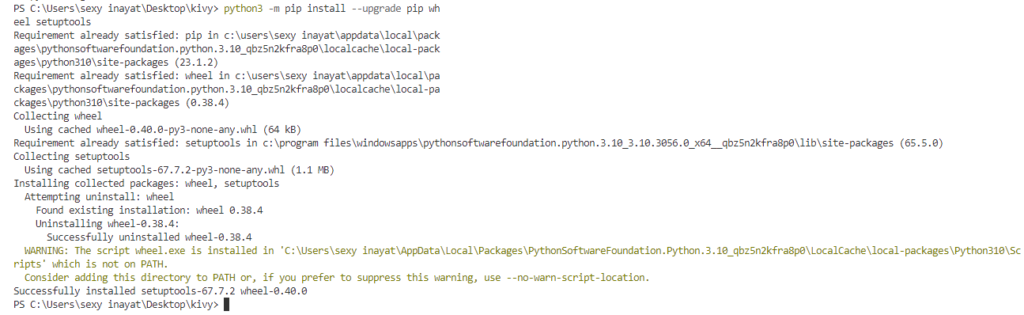
Step 1: To ensure a smooth installation of Kivy, it’s recommended that you update both pip and wheel before proceeding with the installation.
You can accomplish this by running the appropriate command in your command prompt or terminal.
python -m pip install --upgrade pip wheel setuptools
Step 2: Before installing Kivy, it’s essential to install its dependencies. This means that you need to make sure that all the necessary packages and libraries are present on your system before proceeding with the installation.
python -m pip install docutils pygments pypiwin32 kivy.deps.sdl2 kivy.deps.glew
python -m pip install kivy.deps.gstreamer
python -m pip install kivy.deps.angle
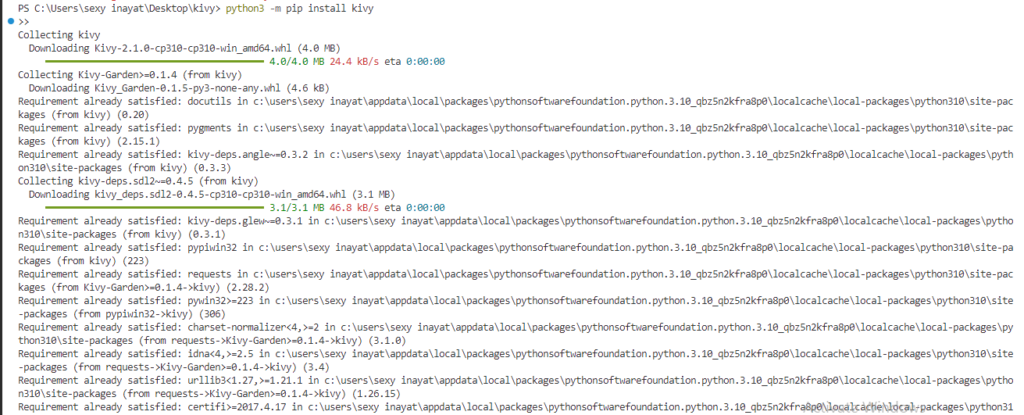
Step 3: To use Kivy, you need to install it on your system. This involves downloading and setting up the necessary files and components so that you can start using Kivy in your development projects.
python -m pip install kivy
Executing the process described will generate an outcome that looks similar to the image displayed below:
Install Kivy On Ubuntu Linux
Step 1: To include the PPA (Personal Package Archive) into your system, you should type the following command into your terminal or command prompt:
sudo add-apt-repository ppa:kivy-team/kivy
Step 2: To ensure that you have the latest package information, you should refresh your package list using your package manager.
This will help you to avoid any potential issues that may arise due to outdated package information.
sudo apt-get update
Step 3: To start using Kivy, you must install it on your system. This process typically involves downloading and setting up the necessary files and components so that you can start using Kivy in your development projects.
sudo apt-get install python3-kivy
Creating Your First Kivy Application
Now that you have Kivy installed, let’s get acquainted with some fundamental concepts. Kivy follows an object-oriented approach, and its building blocks are widgets. Widgets are the visual components of your application, such as buttons, labels, and text inputs.
When creating Kivy application, there are three essential steps to follow.
- First, you need to inherit Kivy App class, which serves as the foundation for the application’s window and widgets.
- Next, you’ll create a build() method that defines the content of the widgets that will be displayed in the window.
- Finally, you’ll call the run() method to initiate the application’s execution.
Let’s creates a basic application that displays a specified text on the screen of the computer system:
import kivy

kivy.require('1.10.0')

from kivy.app import App

from kivy.uix.button import Label

# WELCOMEKivy is a subclass that inherits the properties and functionalities of Kivy's App class, which serves as the window for our widgets. By inheriting from Kivy, WELCOMEKivy gains access to all the fields and methods provided by the Kivy framework.

class WELCOMEKivy(App):

    # Following function provides the desired content that we want to display within the window.

    def build(self):

        # The function returns a label widget that displays the text "Welcome to MR.Examples".

        return Label(text ="Welcome to MR.Examples")

welcomeKivy = WELCOMEKivy()

welcomeKivy.run()
- First, we begin by importing the Kivy library and specifying the required version as 1.10.0. This ensures compatibility with the specified version.
- Next, we import the necessary classes from Kivy, including the App class and the Label widget.
- We define a new class called WELCOMEKivy, which inherits from the App class. This class represents our application and serves as the window for our widgets. By inheriting from the App class, our WELCOMEKivy class gains access to all the fields and methods provided by the Kivy framework.
- Within the WELCOMEKivy class, we define a build function. This function specifies the content that we want to display within the window. In this case, it returns a Label widget with the text “Welcome to MR.Examples“.
- Finally, we create an instance of the WELCOMEKivy class called welcomeKivy, and then call the run method on this instance. This starts the application and displays the window with the specified content.
To execute this code, open the command prompt (or terminal in Linux) and navigate to the directory where the code is stored.
Then, enter the following command:
python3 file_name.py
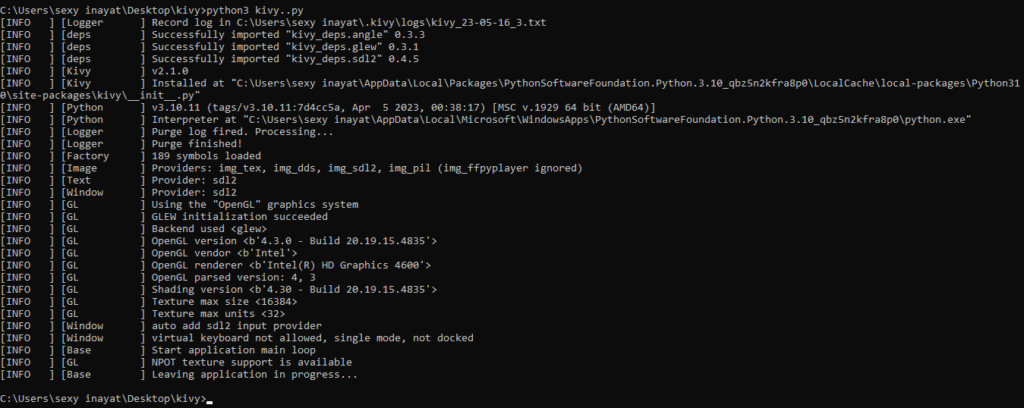
You will see below output:
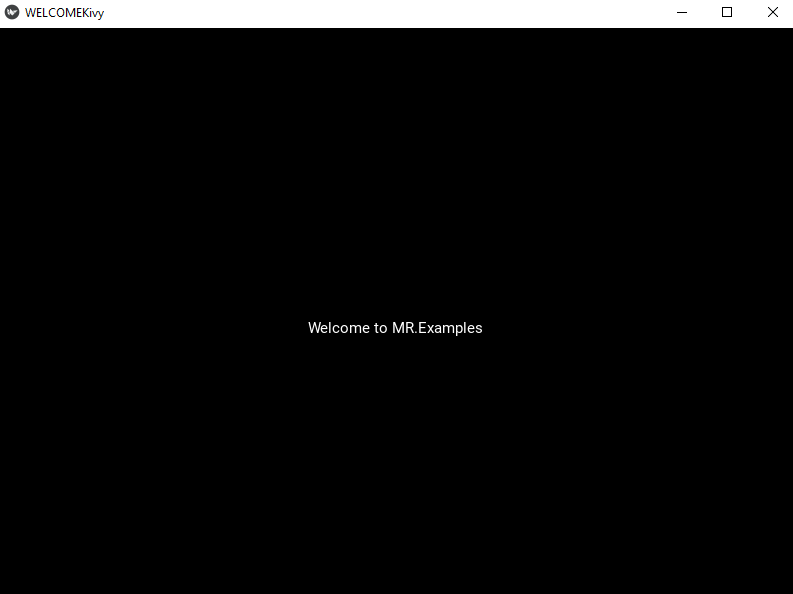
Congratulations on successfully creating your first Kivy application! It’s a significant milestone in your journey as a Kivy developer.
