Tailwind Transition Delay
In this article, we will learn Tailwind transition delay, a powerful feature for controlling the timing of your transitions.
Tailwind has many useful features, including transitions, which allow you to animate elements as they change state.
A transition delay can be added to an element in Tailwind using the transition-delay classes.
This property allows you to delay the start of a transition. This means that an element will remain in its initial state for a specified period before transitioning to its updated state.
What is Tailwind Transition Delay?
Tailwind transition delay is a class that you can apply to any element that has a transition.
The class allows you to specify a delay time in milliseconds before the transition starts. This means that you can create more complex and nuanced transitions that start after a specific amount of time has passed.
Suppose you have a button that changes color when you hover over it.
By default, the transition will start immediately when you hover over the button.
However, with Tailwind transition delay, you can add a delay so that the transition only starts after a specific amount of time has passed.
Tailwind Transition Delay Classes
The transition delay classes in Tailwind are explained below:
| Classes | Overview |
| delay-75 | This class is used to apply a transition delay of 75ms to an element. |
| delay-100 | Applies a transition delay of 100ms to an element. |
| delay-150 | This class applies a transition delay of 150ms to an element. |
| delay-200 | In this case, a transition delay of 200ms is applied to an element. |
| delay-300 | Using this class, a transition delay of 300ms is applied to an element. |
| delay-500 | Used to apply a transition delay of 500ms to an element. |
| delay-700 | A transition delay of 700ms is applied to an element. |
| delay-1000 | This class is used to apply a transition delay of 1000ms to an element. |
Syntax
<element class="delay-100">...</element>
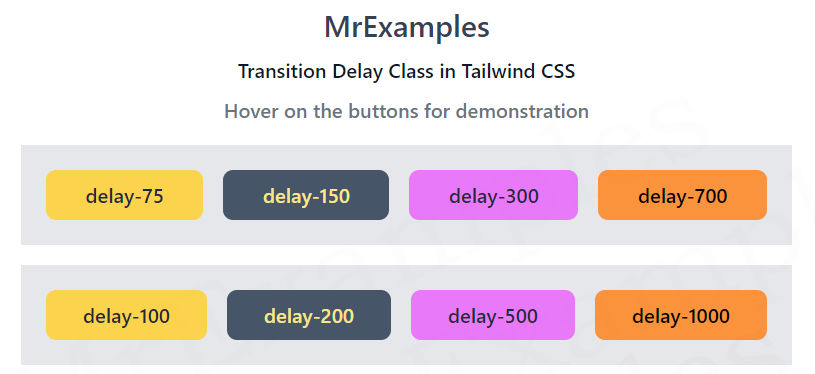
The below example showcases the implementation of some Transition Delay utility classes in Tailwind:
Example:
Example:
Benefits
Here are some benefits of using the transition-delay property in Tailwind CSS:
- Adding a delay to a transition can make the user experience smoother and more pleasant. A delay can help the user understand the relationship between two different states of an element, and it can also help the user perceive the animation more clearly.
- By using the transition-delay property, you can have more control over the timing of your transitions. You can specify exactly when the transition should start, and you can also create complex timing sequences that involve multiple delays.
- By adding a delay to a transition, you can create more visual interest on your web page. The delay can create a sense of anticipation, and it can also draw the user’s attention to the element that is being animated.
- When you use the transition-delay property in Tailwind CSS, you can improve the performance of your web page. By delaying the transition, you can reduce the amount of animation that needs to be processed by the browser, which can help to reduce the load on the user’s device.
